How to set up your own ENS domain name
This is a short tutorial on how to set up your own ENS domain name using MetaMask and Google Chrome.
This is a short tutorial on how to set up your own ENS domain name using MetaMask and Google Chrome. Normally I'm using Brave but I thought doing the demos in Chrome would allow more people to access it.
- Go to https://ens.domains/ and click Launch App.
2. Enter the name you are planning to register. It can end with .eth but doesn't have to.
3. Now we have to connect ENS to an Ethereum account. Though they offer multiple ways to connect your wallet (as shown below) we are going to use MetaMask for this tutorial. If you already have a MetaMask account set up, you can jump straight to step 10.

4. In order to download MetaMask, go to https://metamask.io/download.html and press Install MetaMask for Chrome. You'll be redirected to the Chrome Web Store.
5. Next, add MetaMask to Chrome by pressing Add to Chrome. After installation, you'll be redirected to the setup screen.
6. Press Get Started and Create a Wallet unless you already have one.
7. Create a password for your wallet.
8. Store your secret backup phrase in a safe place. It makes it easy to back up and restore your account. (The only reason I'm showing my phrase is because I'm using a throwaway account for this tutorial. You should never show it to anyone.
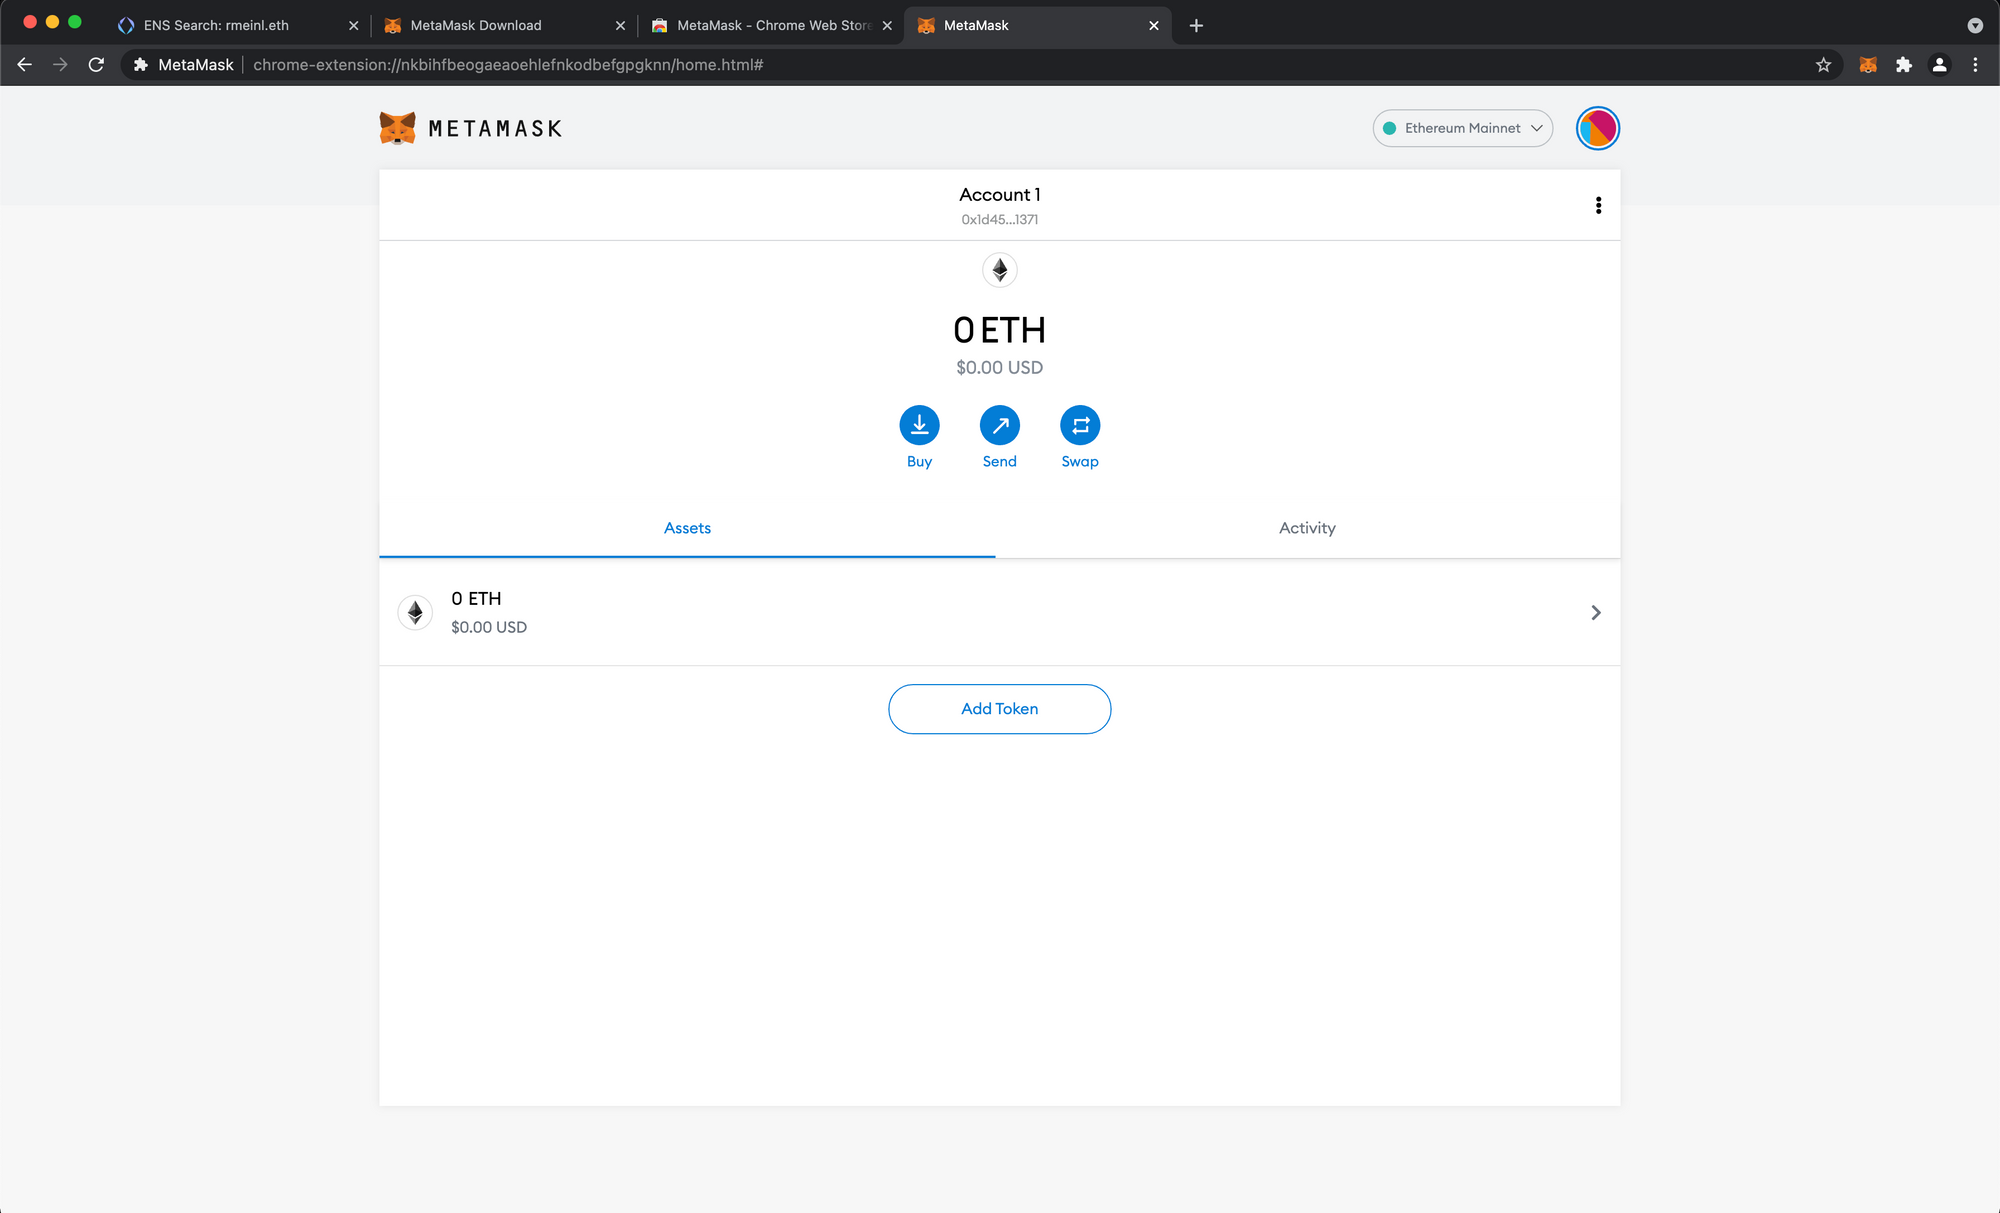
9. You're all set. You should now see a page with your MetaMask account like this.
10. Now that MetaMask is all set up, switch back to the ENS tab and click Connect to connect with your wallet. It'll open the same window as in step 3, but it should also include MetaMask now. You might have to refresh your browser.
11. Click MetaMask and select the account you want to authenticate with. Click Next and finally Connect. On the left side next to the ENS domain name you should now see that your account is connected to the mainnet.
12. In order to pay for the domain name you need to add some Ether to your account. The fastest way to do that is a direct deposit as shown below. Go to Buy > Directly Deposit Ether > View Account to get your MetaMask Ether address. Use the wallet of your choice to send Ether to this account. It could take up to 10 minutes for your funds to arrive.
13. Click on the domain name you want to register and select the number of years you want to reserve it for (2+ years are recommended, given the gas fees). There are three steps in total as listed on the website.


14. Request to register: Your wallet will open and you will be asked to confirm the first of two transactions required for registration.
15. Wait for 1 minute: The waiting period is required to ensure another person hasn’t tried to register the same name and protect you after your request. Afterward, your screen should look like this.
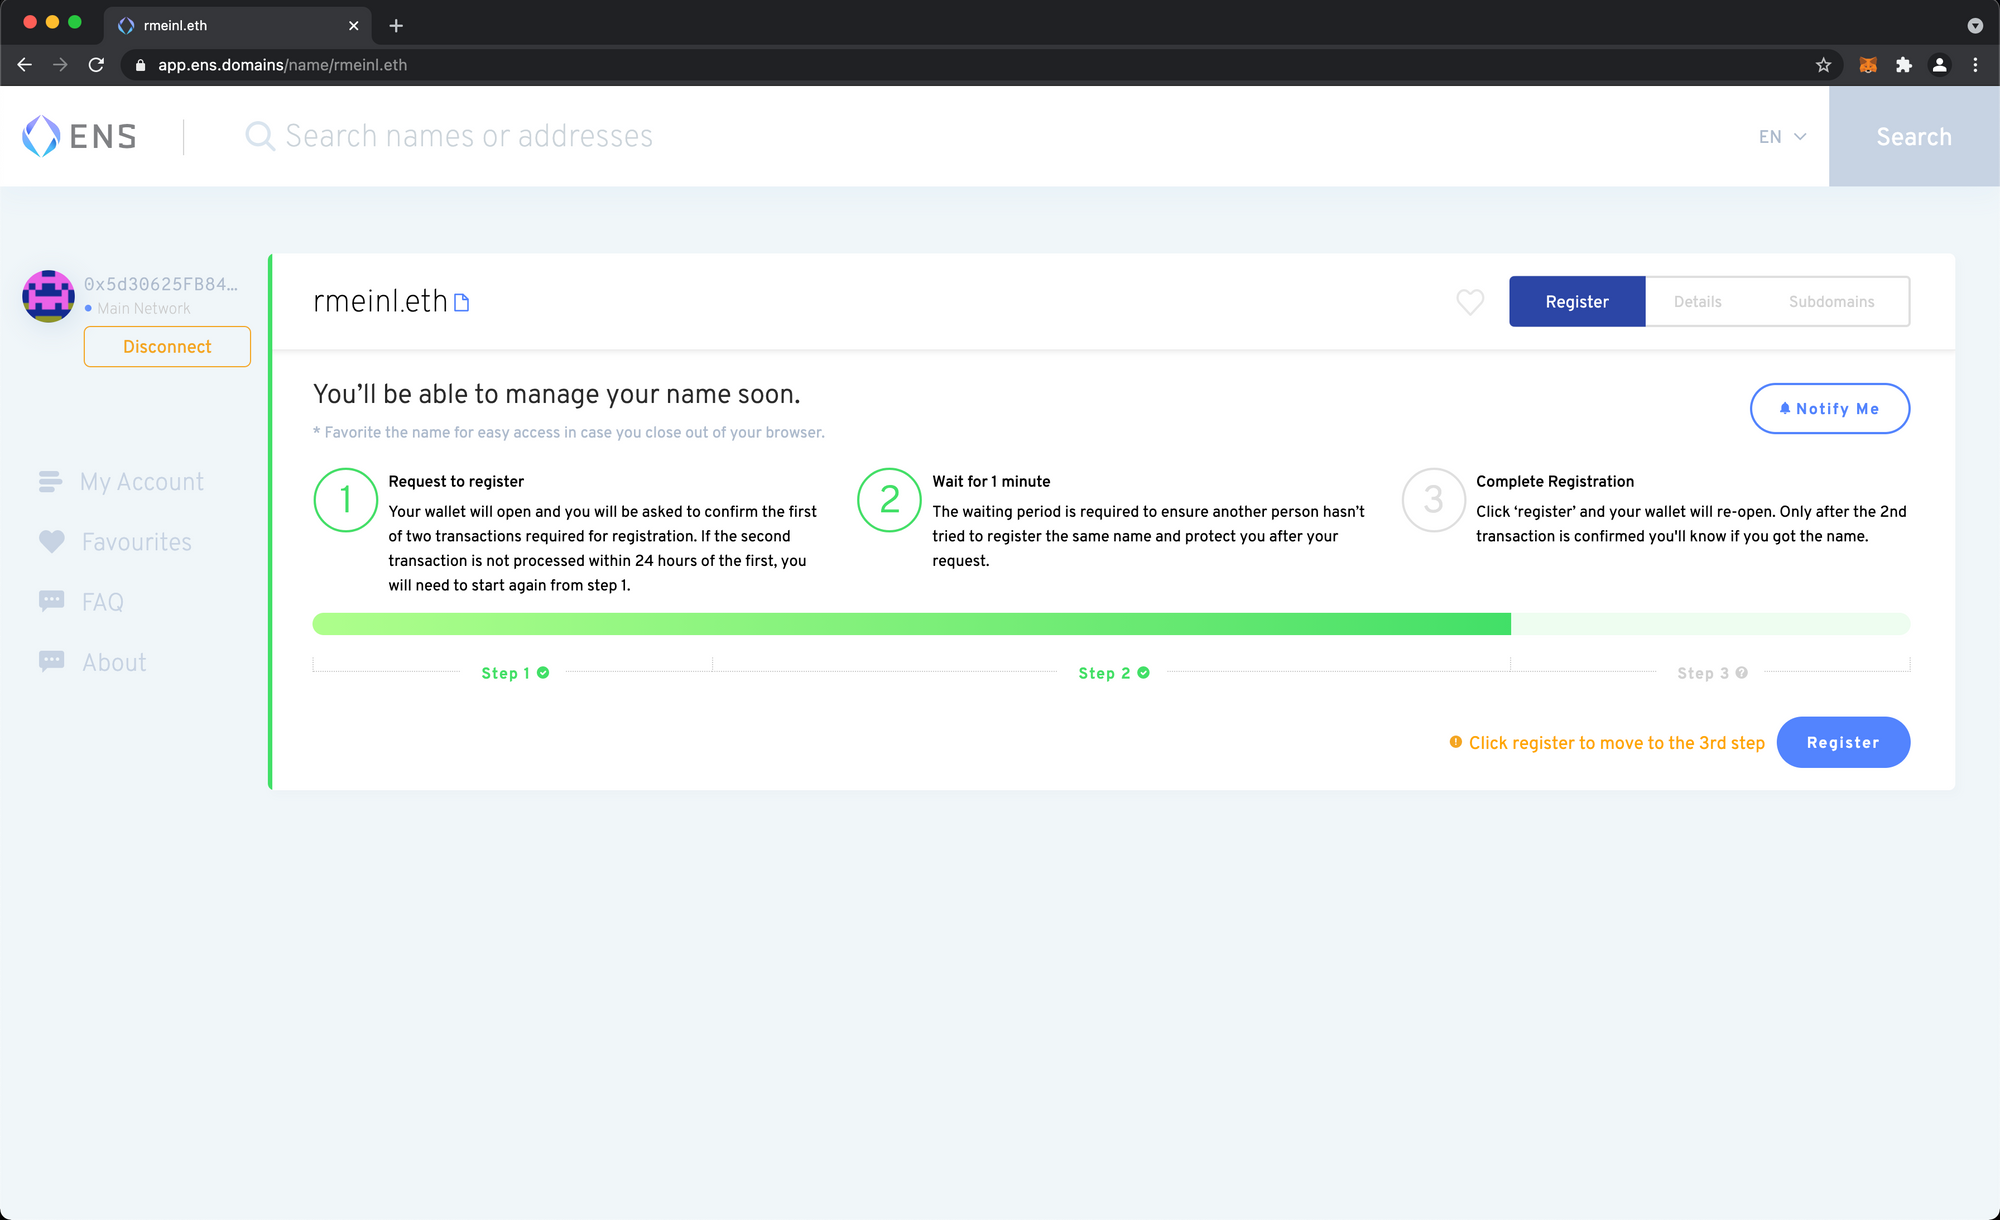
16. Complete Registration: Click Register and your wallet will re-open. Only after the 2nd transaction is confirmed you'll know if you got the name. This could take up to 10 minutes. As you can see, this transaction cost me about $50 in total but the gas fees are variable so it might be more or less depending on when you submit yours.

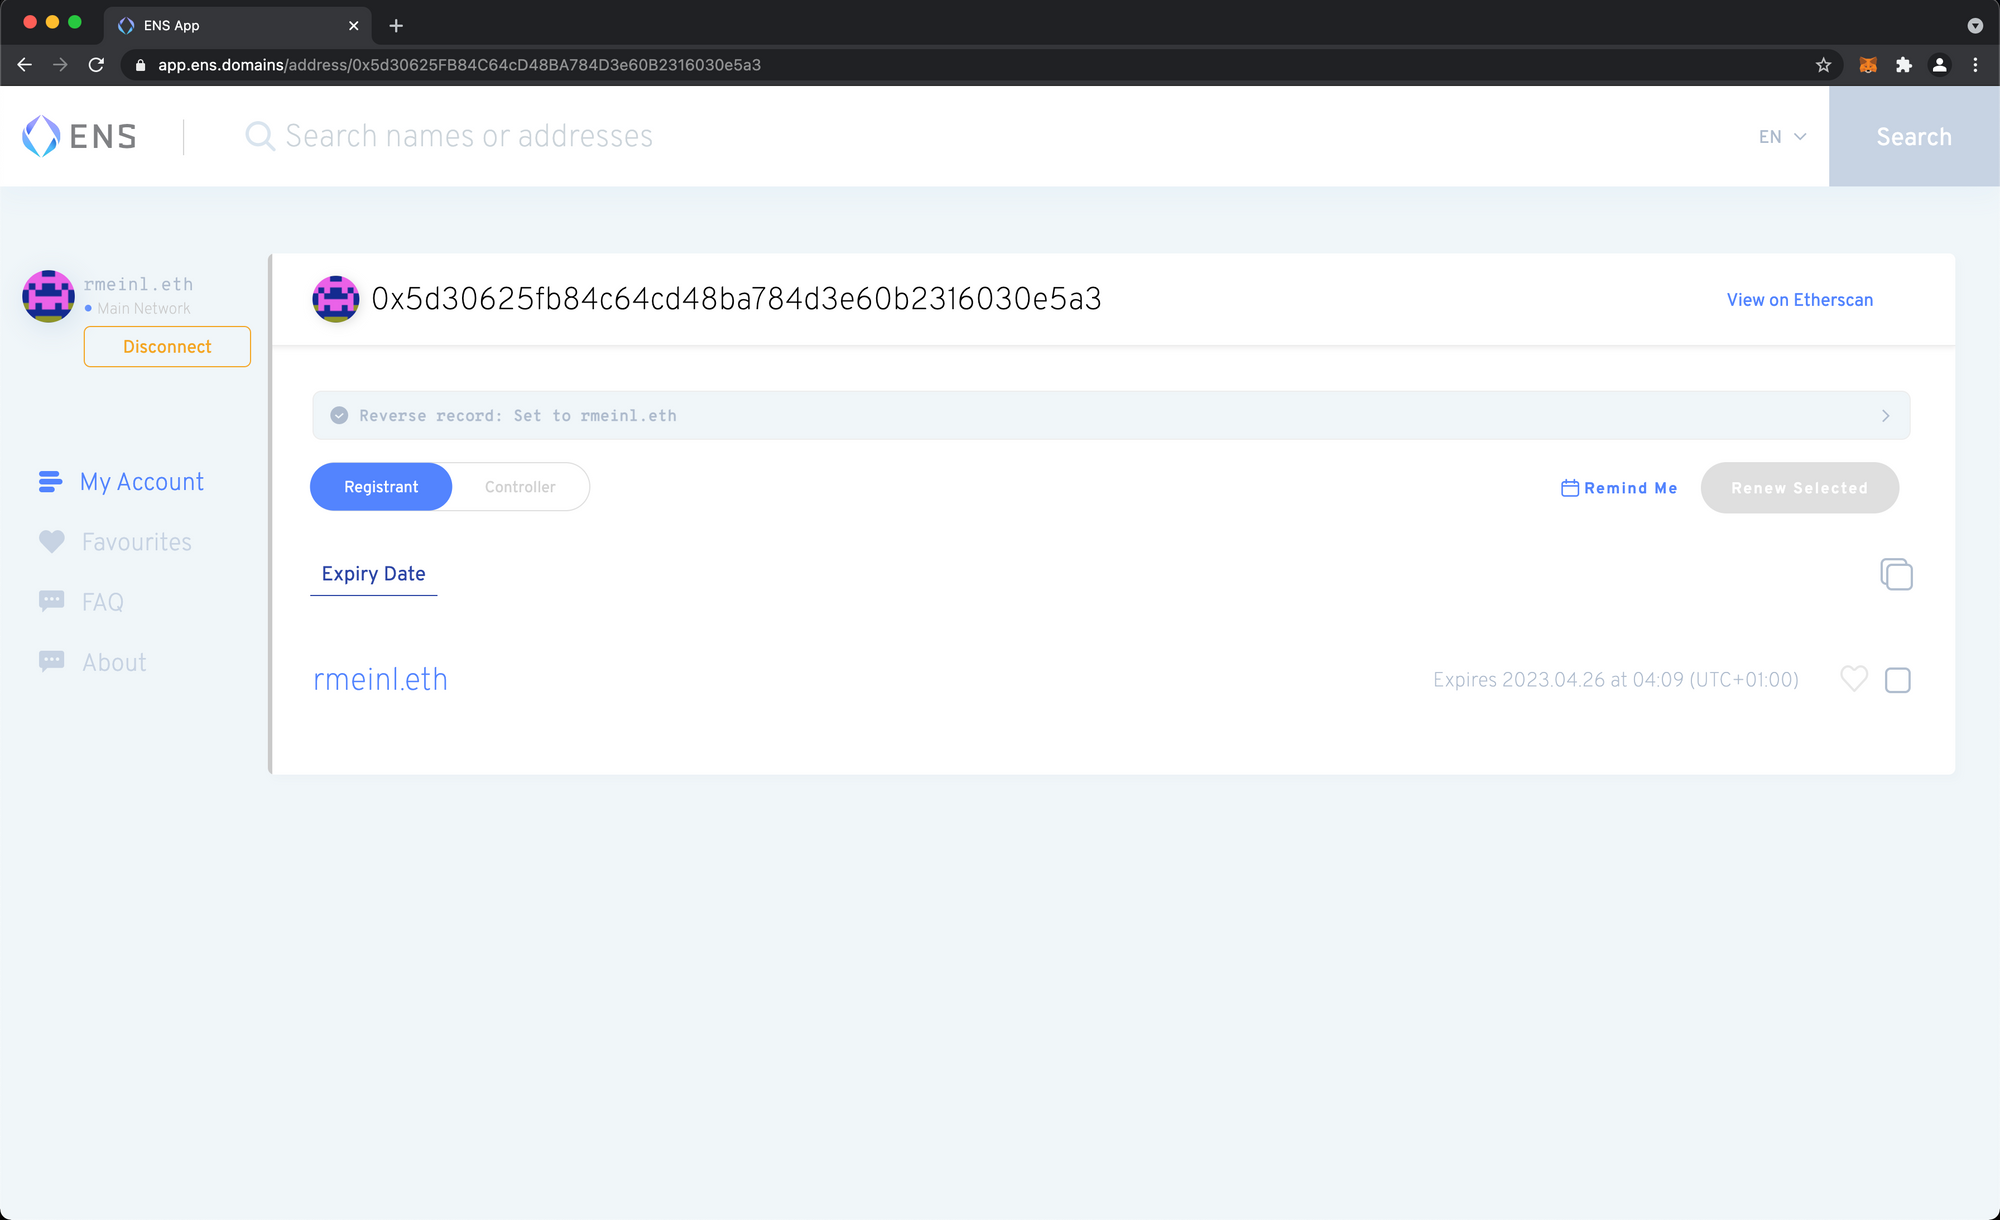
17. After the registration is completed, you should see the name show up under My Account.

18. Click Reverse record: not set. Select your ENS name then click Save, and submit the transaction to save it on the blockchain.
19. After about 10 minutes you should see that your reverse record has been set up successfully.
20. In order to add some records, click on your name in the list below. You should see that it already points to your Ethereum address. Click on Add/Edit Record. I'm going to add my BTC address, my website and twitter as well as github handle.
21. Finally, confirm the transaction and submit it to the blockchain via MetaMask. This should take another 10 minutes.
22. That's it! You can now use a browser like Opera or Brave to check whether everything worked out. I'm using Brave here, which will initially ask for confirmation to redirect via ENS. You should then see your record. If you neither have Brave or Opera, just go to https://app.ens.domains/name/<your_domain>.eth
We just walked through how to set up your own ENS domain name using MetaMask and Chrome. To give you a rough idea about the costs, the whole process cost me $97.86. Here's the breakdown:
- $6.17 for step 14 (initial request)
- $46.26 for step 16 (paying for the name)
- $21.48 for step 18 (setting up the reverse record)
- $23.95 for step 21 (adding custom records)
Obviously the majority of these costs are gas fees, you only pay ENS for step 16 so it will vary for you depending on when you set up yours.
Hope this was helpful!